
This tutorial was written by and created by Crickett on September 30, 2009
Any similarity to any other tutorial is purely coincidental
This was made using PSPX2 and assumes you have knowledge working with PSP
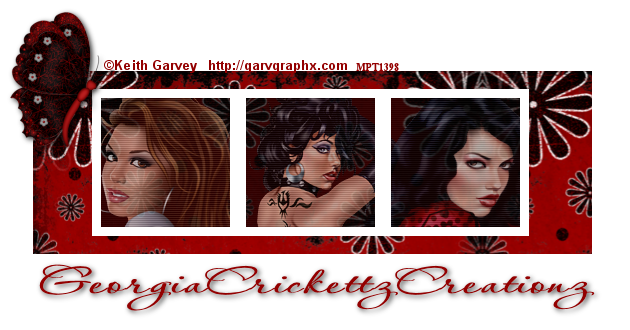
I am using the Artwork of ©Keith Garvey
Tube of Choice
Word Art of Choice
Font used Dagger
Word Art of Choice
Font used Dagger
Mask of Choice
Scrap Kit of Choice
(I used two different kits
Bel Vidotti's Spooky and Lacarolita's Scream at the Night)
Eyecandy4000 Gradient Glow
Settings:
Basic: 3/25/100
Color: Thin (Black)
(I used two different kits
Bel Vidotti's Spooky and Lacarolita's Scream at the Night)
Eyecandy4000 Gradient Glow
Settings:
Basic: 3/25/100
Color: Thin (Black)
*If anything here belongs to you please contact me and I will either give you credit or remove it*
Drop Shadow used for all LayersV & H 2Opacity 30Blur 5.00
OK let's get started
Open the template in PSP → Shift D to duplicate
Close the original and delete the copyright layers, left squares and right squares layers
Image Canvas Size 700x700 (you can crop it down later)
Flood fill your background with white
Select your center back layer → c/p paper 25 as new layer → select inside
your frame layer → modify expand by 6 and delete the excess paper
delete the original center back layer
Select your left back layer → c/p paper 28 as new layer → select inside
your frame layer → modify expand by 6 and delete the excess paper
delete the original left back layer
Select your right back layer → c/p paper 28 as new layer → select inside
your frame layer → modify expand by 6 and delete the excess paper
delete the original right back layer
Add a new raster layer and fill with a color from your tube
Select inside all of your frame layers → modify expand by 6 and delete the excess
move to the layer above your background layer
Change the blend mode to all of your paper layers to Luminance (L)
Add Eyecandy4000 with the settings above to all of your Frame Layers
Leave your bottom back layer black
C/P the tree from Lacarolita's kit as new layer → resize by 65% 3 times
place up under your left frame layer → duplicate image mirror → place under the
right frame layer
C/P the mansion and gate from the same kit → resize by 50% twice
and place under the center back frame
C/P any other elements from the kits and resize to your liking
Add a new layer above your background and flood fill with a color
of choice and add a mask of choice
C/P a tube of choice and place where desired on your tag
Drop Shadow all Layers with the settings from above
Add your name and copyright info
Resize your tag by 85% all layers checked
Save as JPEG or PNG
THANKS FOR TRYING MY TUTORIAL


No comments:
Post a Comment