
I wrote this tutorial on March 4th 2009 and any similarity to any other tutorial is purely coincidental. Please feel free to print it out for your own personal use but please do not claim it as your own. All materials and tubes used are copyright to their respective owners and will be credited accordingly. If there is something I have used and it is yours, please let me know so I can give you the credit you deserve.
This tutorial assumes you have a good working knowledge of Paint Shop Pro
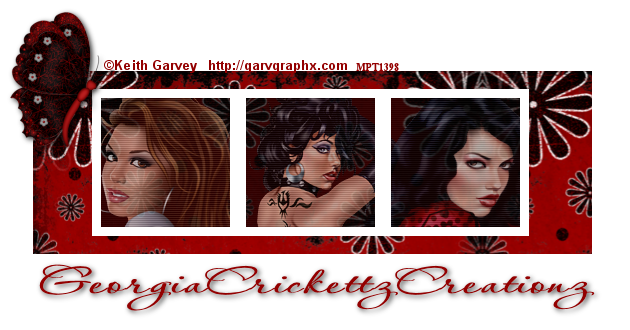
Supplies Needed:Paint Shop Pro (I used 9 but can be done in any version)Tube of Choice (I used the Gorgeous artwork of ©Keith Garvey )You can purchase a license to use his work
HERE
Template #31 by Kristin @ WICKED SCRAPZ HERE
Mask of Choice
Font of Choice (I Used Mandingo)
Eyecandy 4000 Gradient Glow/Glass
Mura's Meister Copies
Scrap Kit of choice PTU(The one I used is Paddy's Delight by Donna)
You can purchase her kits HERE
Drop Shadow used through out is
V & H 1
Opacity 40
Blur 3.00
Color Black
OK let's get started
Eyecandy 4000 Gradient Glow/Glass
Mura's Meister Copies
Scrap Kit of choice PTU(The one I used is Paddy's Delight by Donna)
You can purchase her kits HERE
Drop Shadow used through out is
V & H 1
Opacity 40
Blur 3.00
Color Black
OK let's get started
Open you template in PSP Duplicate and Close the original
Image Canvas Size 700X700 (you can resize later)
Delete the copyright layer
Select your circle layer on the template
Go to selections-Select All-Selections Float-Selections Defloat
Modify smooth by 10 – New Raster Layer
Select a paper of choice – Paste into selection – Select none
(I used paper 5 from the kit)
Drop shadow as above – Delete original template layer
Repeat the same steps above for the rectangle layer and the 2 small rectangle layer
Select your Wordart Layer (Irish) and add the following settings
Eyecandy 4000 Gradient Glow:
Glow Width 3.00

Color from your tube-I used Green
Add drop shadow setting from above
Select your second Wordart layer
add the same gradient glow except change the color
to white and add the same drop shadow from above
Select your clover leaf layer-selections select all-selections float-selections defloat- smooth same settings from above
layers new raster layer- flood fill with a color from your tube-selections select none
Add the following Glass Effect:
Bevel Width 10.80
 add drop shadow from above
Copy and Paste your tube as a new layer-drop shadow
Add any elements from the kit and drop shadow them
Copy and Paste 2 different flowers from the kit
resize one by 45 percent and the other by 45 percent then 85 percent
Apply Mura's Meister Copies with the following settings:
 On the first flower X & Y shift is 55
On the second flower change the X & Y shift to 50
Drop shadow both layers-Send to bottom
Layers new raster flood fill with a color from your tube or paper and apply mask of choice
Add your name-drop shadow and copyright information save as jpeg or png
Thanks for trying my tutorial


No comments:
Post a Comment